

Well House - Part 2
The Structure

This post is part of a series - see my posts about having the well dug & pouring the cement slab for some context.
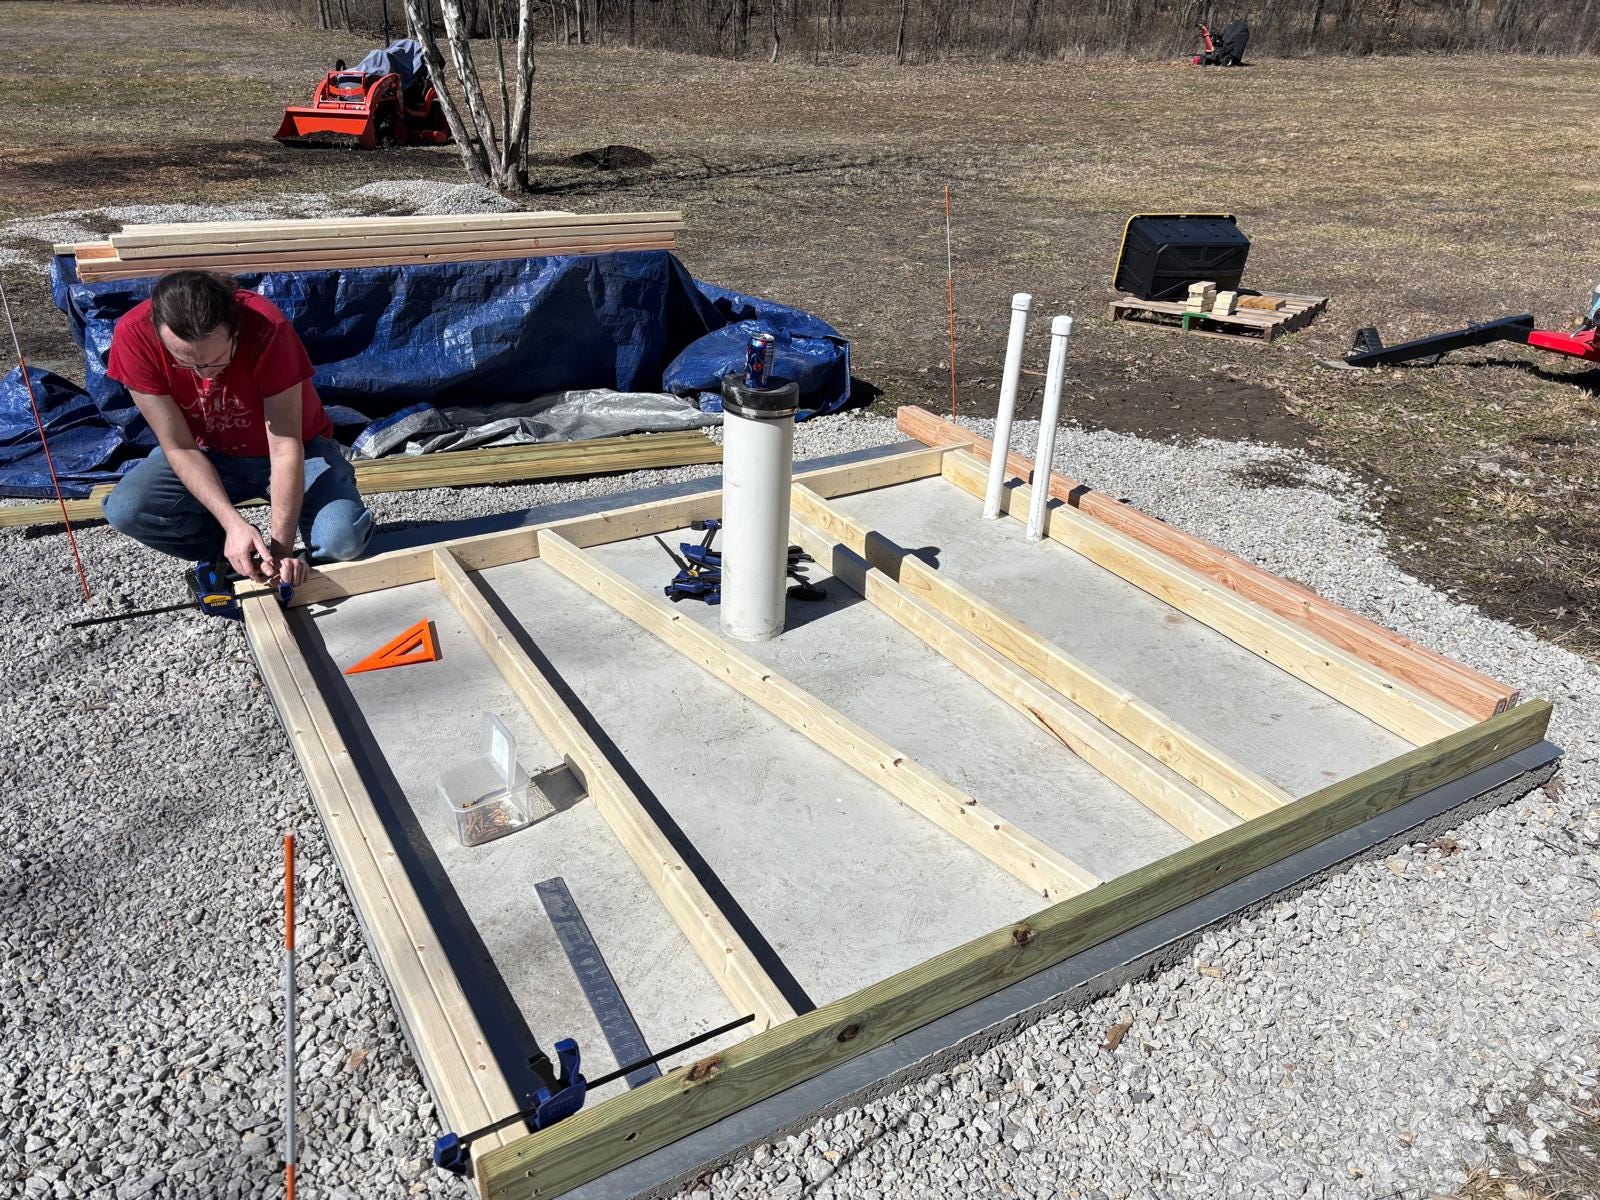
By mid-March, it was finally warm & dry enough to get started on the well house construction! This structure will be 8’x8’ (so no construction permit needed in our county), will have a door on the north side, 1 window on the south side for now (framing to allow an additional two windows at a future time if desired), and a slanted roof for solar panels to power the well pump.
Framing
Ben started by placing a layer of duct tape anywhere wood will touch cement. Hopefully this will create a sufficient vapor barrier.
Once the East wall was framed up, we moved it into a vertical position and secured with a scrap 2x4 and a stake pounded into the ground.

We framed up the North wall (which will be the tallest side of the building), moved it into a vertical position, and secured to the east wall.


The West and South walls were a bit more challenging to frame up because we now had less room to maneuver and also had to work around the well pipes. For future projects we’ll likely make the cement slab a couple inches larger than the building footprint. There aren’t additional flat places to work (no barn or garages yet), so getting everything aligned perfectly was tough.


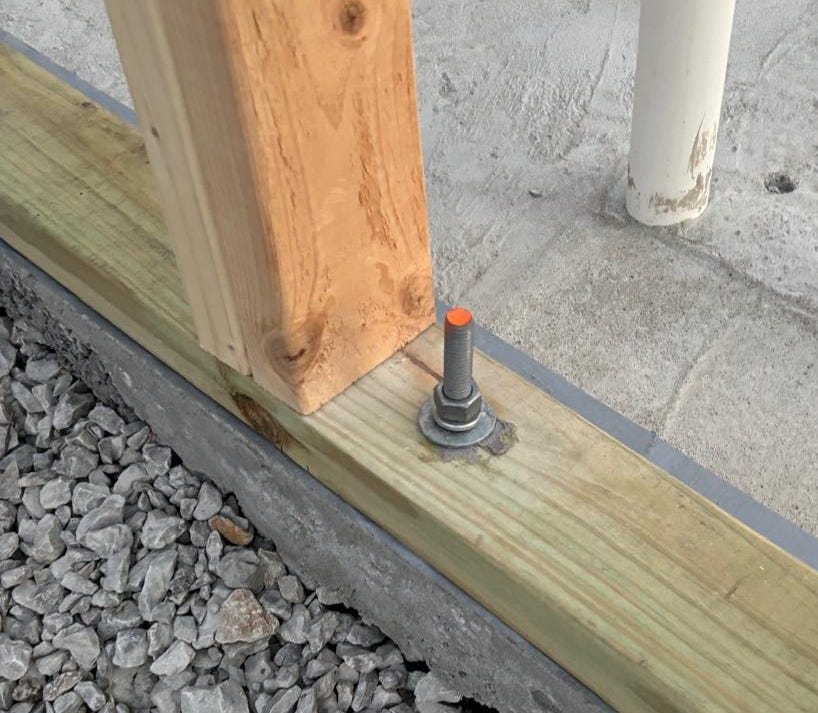
Ben secured the walls to the cement slab: He started by pre-drilling 5/8” holes in the wood frame, then using a 1/2” masonry bit & rotary hammer to drill into the concrete. The cement slab is 3 1/2” inches thick, and the holes drilled were 2 1/2”. This method was chosen (as opposed to traditional hammered-in friction anchors) to prevent the concrete from shattering because it’s so near the edge of the slab.
Ben used a special anchoring adhesive to seal the all-thread in place, then tightened bolts. There was a significant wind event the next day, so we were glad to have everything well-secured.

Next, Ben cut out the door jam.

Hardboard Walls


This was definitely a three person job. Ben & Preston were in charge of lining up the hardboard & holding in place, while I had the easy job of clamping the boards once aligned.
We had to get creative on making sure the structure was square, so used ratchet straps to hook up to heavy objects (UTV/trencher) and ratcheted until the frame was squared up. This worked really well.
Rafters


Ben put up the rafters one day when he was out there by himself - sounds like that was a pain trying to work overhead!
We added some plywood sheeting on the roof, then Ben used a reciprocating saw to cut off the excess hardboard on the south side.
Roofing


Ben built supports and let the tin extend over the north side to create an overhang.

Caulking, Painting, Fixtures


Unexpected Issue
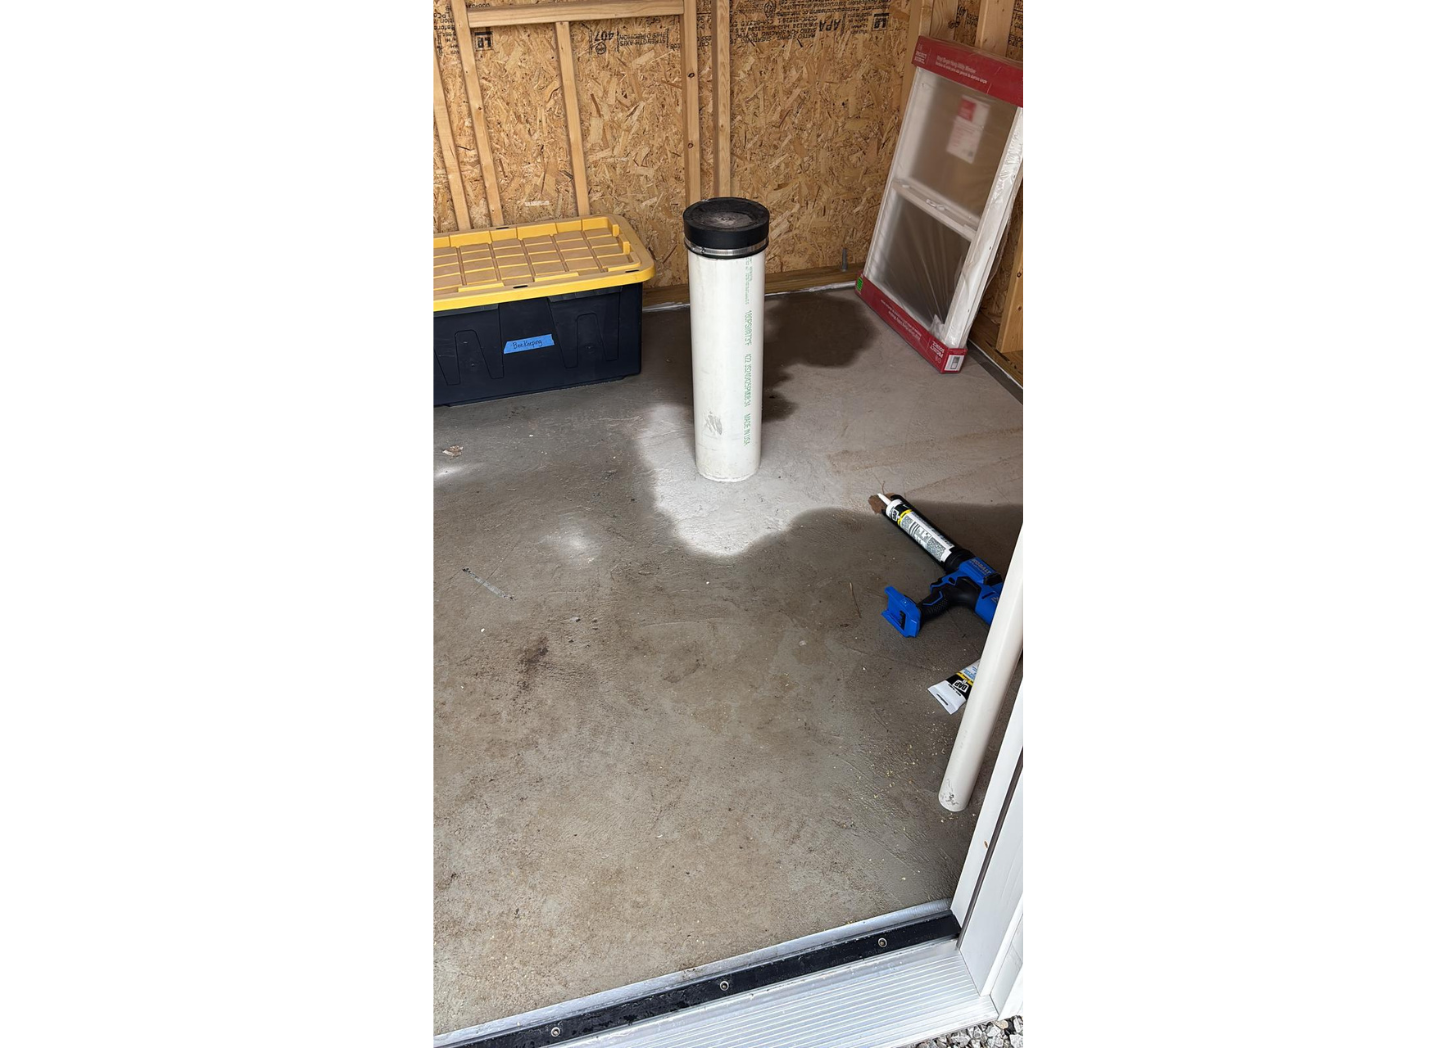
After the walls and ceiling were in place, we experienced a heavy rain. Most of the cement slab was soaking wet - water seemed to be coming from below, wicking up through the slab into the walls.


Our land has a lot of elevation change, so our best guess is that a water flow came down a nearby hill and around the structure. We applied Drylok to the interior cement floor. Time will tell if this is an effective remedy, but the cement has remained dry inside the structure during the past several storms.

Interior


Ben added R13 insulation to the walls, then stapled on plastic sheeting for a vapor barrier. He wore long sleeves, gloves, a mask & glasses for protection from itchy fiberglass. Then the plywood sheeting went up with the help of my younger son.


Ben installed a window frame & added blinds, then I painted the plywood to make the space brighter. This structure has turned into quite a handy storage and work space.
Sit tight for a future post about adding solar & getting the pump installed!

