Style & Design
I began beekeeping a year ago and decided very quickly that I didn’t want a traditional Langstroth hive (the most common hive setup in the US). When full of honey and bees, a hive super can easily be 80+ pounds. After researching various ways that people keep bees, I landed on having a horizontal Langstroth hive - it uses deep Langstroth frames, but there is no need to lift heavy boxes.
There aren’t a lot of detailed horizontal hive build plans online (at least that I could find), and shipping costs make purchasing a premade hive unaffordable. We built our first beehive based on free plans from Frederick Dunn.
The Bad
The first hive got us through the year, but there were some things we wanted to change going forward.
The ventilated mesh bottom board was a mistake. Bees somehow found their way into the area meant to hold oiled trays (the idea was that when mites fall off bees they’ll get stuck in the oil & we can calculate the mite load for the colony). Once in the bottom area, bees had trouble getting back into the main hive and there were many casualties.
The flap meant for checking the area below the ventilated bottom mesh wasn’t 100% tight (an error on my part), so bees started using it as a second entrance. They were even building comb under there.
The peaked roof design was pretty, but wasn’t holding up well to the weather (caulked seams).
The hive was incredibly heavy
Our inner cover handles kept coming off & didn’t fit right.
My divider board wasn’t great.
The Good
Insulation! We built the hive entirely out of 2-by materials (in reality the dimensional lumber was really about 1.5” thick).
The leg style Ben designed worked really well.
We went with spinner style entrances - they can be adjusted for ventilation/queen excluder/etc.
New Hive Plans
Ben wanted to design a horizontal hive that could be made with dimensional/cheaper lumber & less tools. Many designs require a table saw and router.
We own both of these tools, but are very hesitant to use them.
The table saw is a hand-me-down, but we’re both terrified of using a saw that’s not enabled with SawStop. Fun fact: 10 people per day lose a finger while using a table saw in the U.S. Check out this video about SawStop technology - it’s really interesting.
There was a very scary moment with the router during construction of hive #1, and we would like to avoid using that tool going forward.
Ben got to work and designed a relatively simple horizontal hive. It still uses dimensional lumber for the outer walls, but also inexpensive cedar fencing planks & plywood. The cost of lumber is decreased, there’s no need to use specialty tools, and the interior is lined with cedar.
Our theory is that cedar makes a good material for any area that the bees will touch:
The rough texture of the cedar planks makes for a grippy surface for the bees to move around on.
Cedar has natural pest deterrent properties. I’m interested to see if it will deter small hive beetles.
Cedar should last a long time without paint (we don’t want the bees to have direct long-term contact with painted surfaces on the hive).
The Tools
Rotary saw / chop saw
Drill with star bit for wood screws & spade bit (for drilling the bee entrance holes)
Staple gun/Brad nailer
Sander (optional)
Planer (optional)
Clamps (helpful)
Speed square or measuring tape
The Build
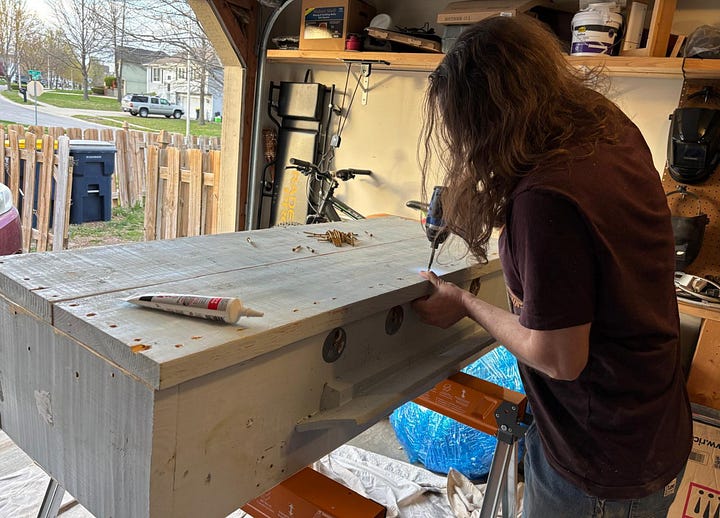
We used 2”x12” dimensional lumber for the hive body, and lined the interior with a series of stacked rough cedar planks (this allowed us to make the frame rest & inner cover ledge without using a router).
Anyone who’s bought lumber at the hardware store knows that it can be extremely difficult to work with - warped/bent boards are common, and sometimes there isn’t an alternative. I assembled the hive body, but couldn’t get it square for anything. Ben stepped in with his trick of using a ratchet strap for getting a box squared up.
Once the hive body was square(ish), we flipped it over and added cedar planks to the bottom. Ben cut a sheet of plywood to put on the outside.
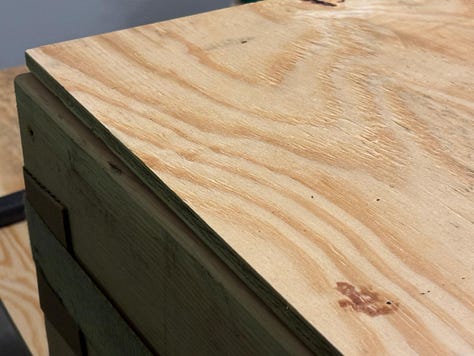
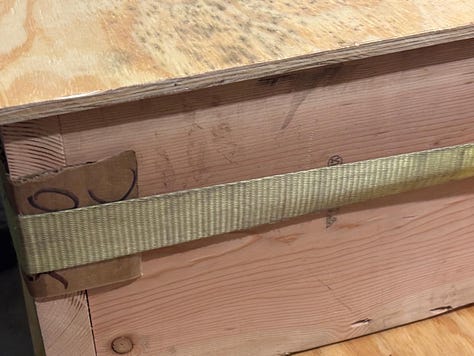
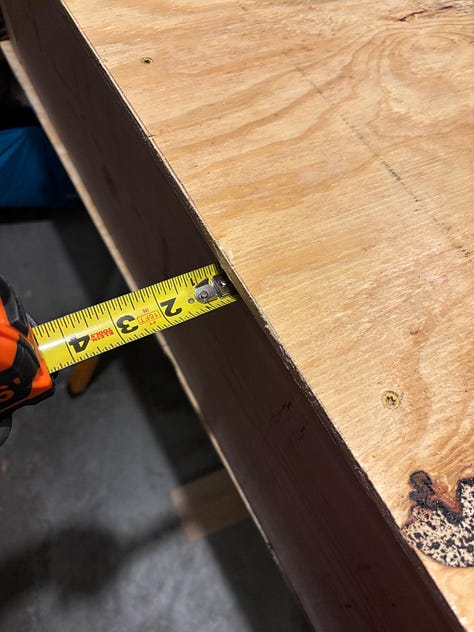
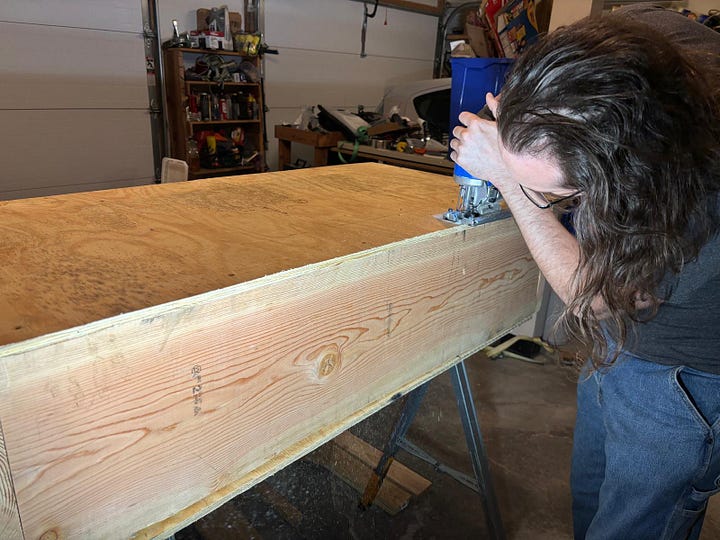
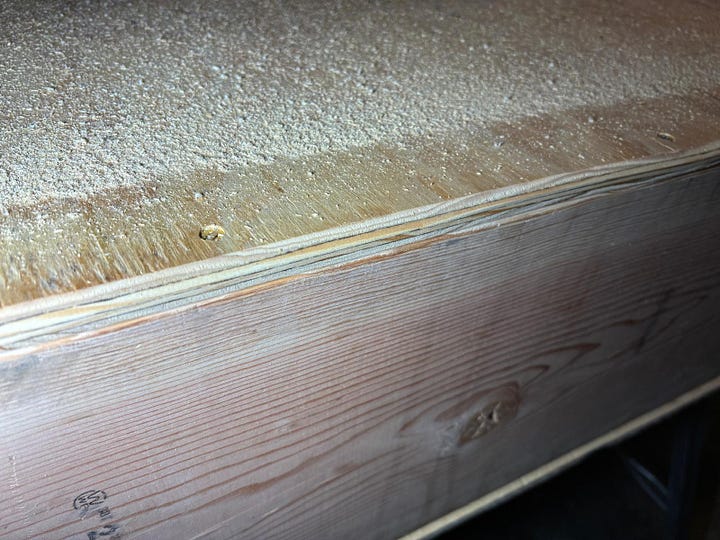
Oh, the frustrations of using junky lumber! Even with the ratchet strap trick, we still couldn’t get the hive body 100% square. This became very obvious when the plywood sheet was attached to the bottom of the hive - one side was too short, while another had a lip hanging over. We fiddled with it for a while, then Ben cut off the lip with a jigsaw & sanded.
We flipped the hive body right side up, and made cedar planks for the inner cover. When I work with the bees, I can remove only the planks I need. This means I’m creating less disturbance, and reducing the chance of chilling the brood.
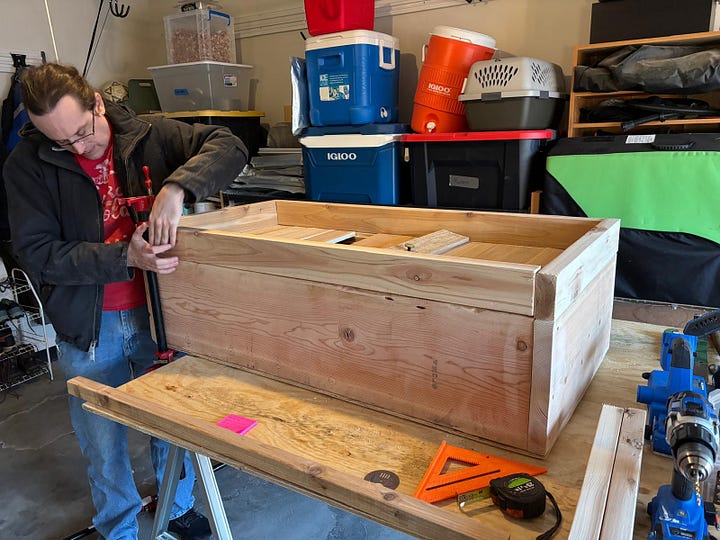
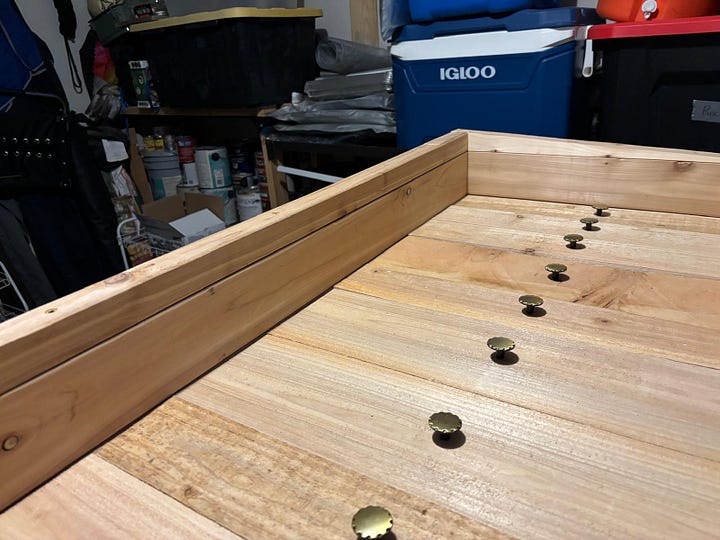
Next, Ben framed the lid and added hinges. In the second picture, you can see he created an angle - there will be a flat roof, but it will be slightly higher on the front of the hive (where the bees enter/exit) and lower on the back where the beekeeper stands. Rain will run towards the back of the hive, hopefully keeping water away from the bee entrance holes.
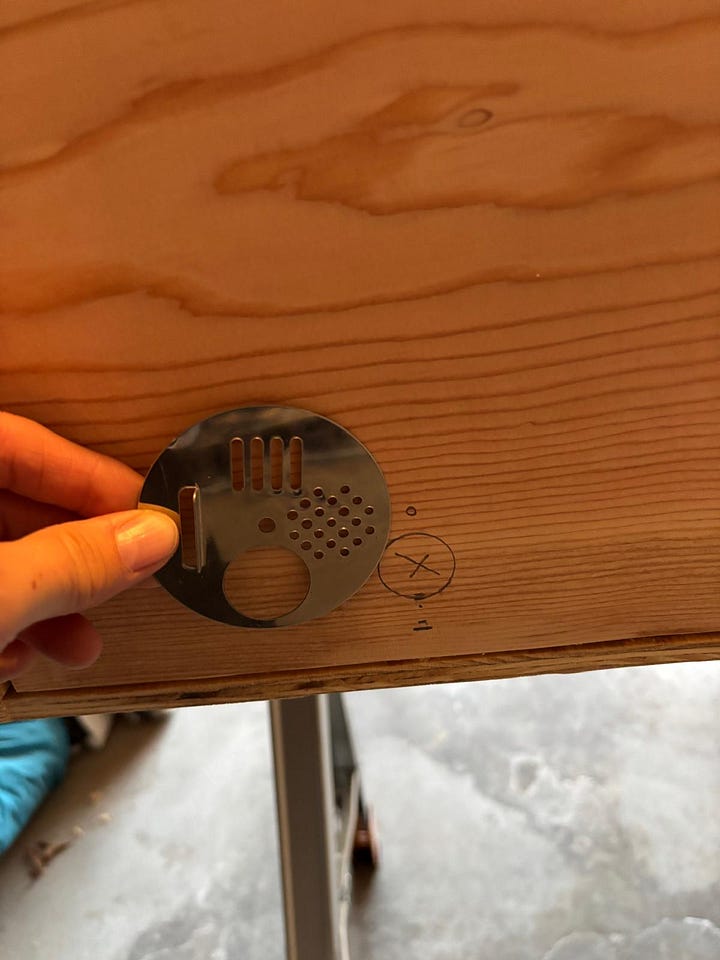
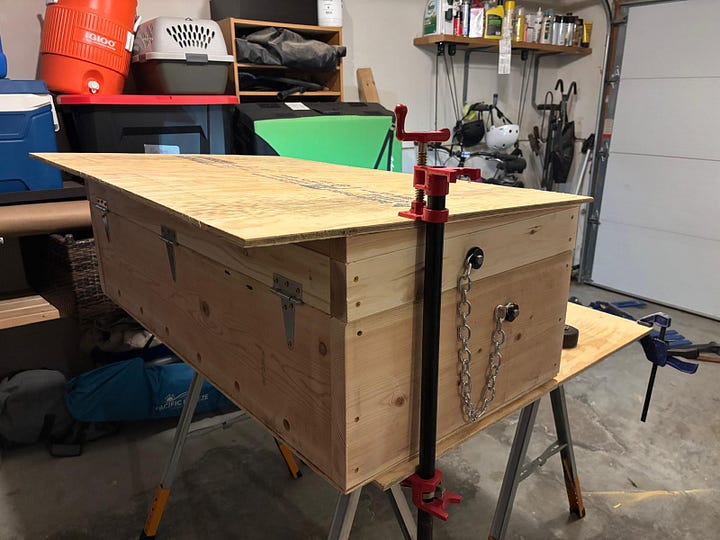
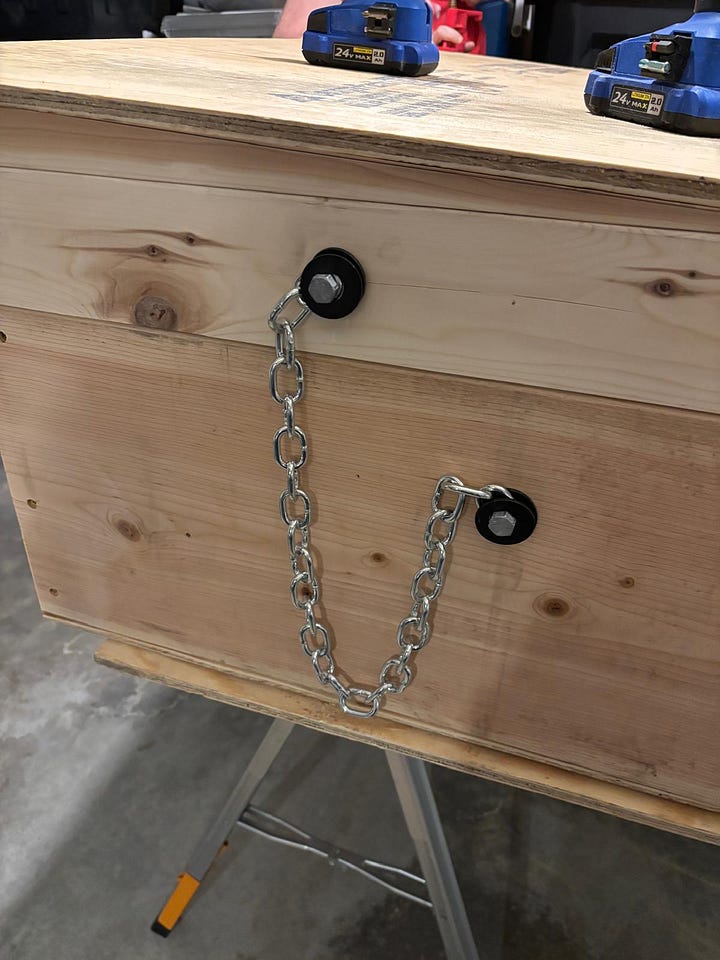
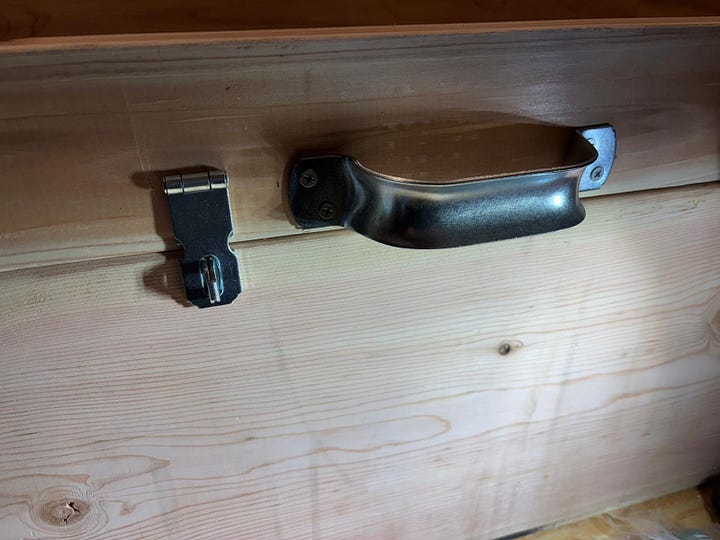
Ben cut more plywood to use as a roof - note the overhang to help keep the bee entrances dry. He added a chain on the side to prevent over-extending the lid when opened. Hinges were added to the front of the hive. A handle & latch were added to the back (where the beekeeper stands).
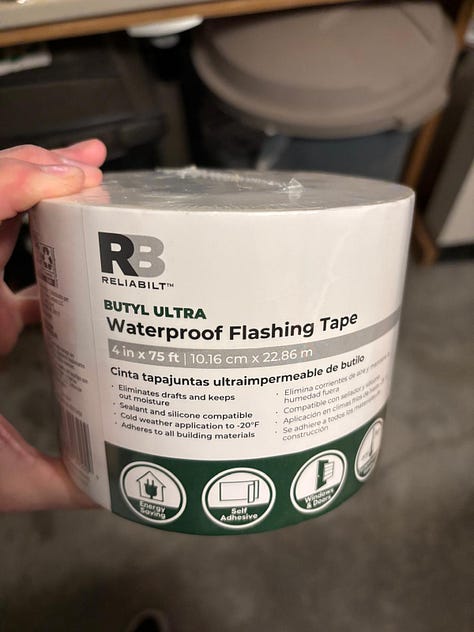
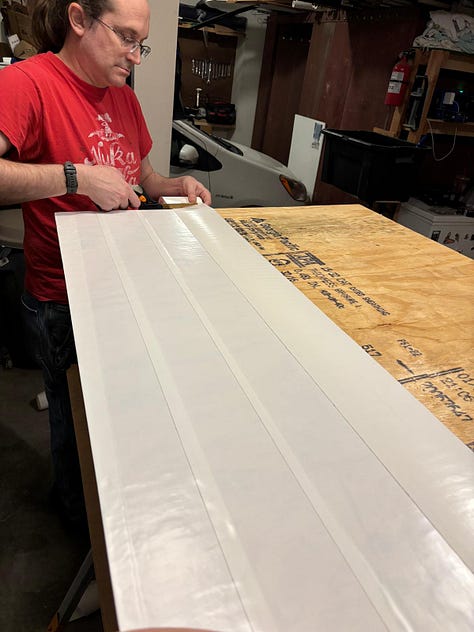
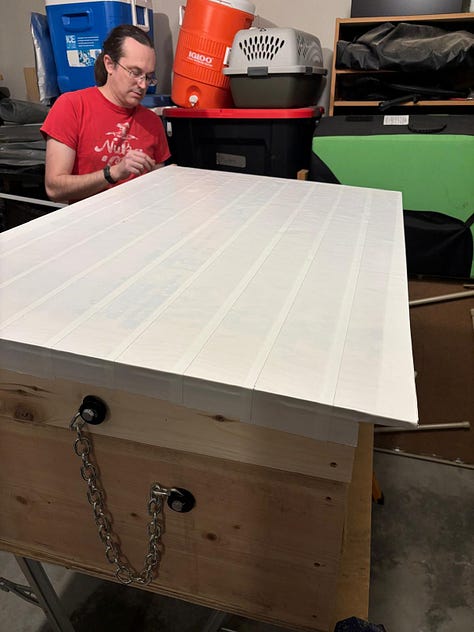
As an experiment, we’re using vinyl flashing tape as a waterproof roof covering. I haven’t heard of anyone doing this on a beehive, so we don’t know how it will perform. It seems sturdy.
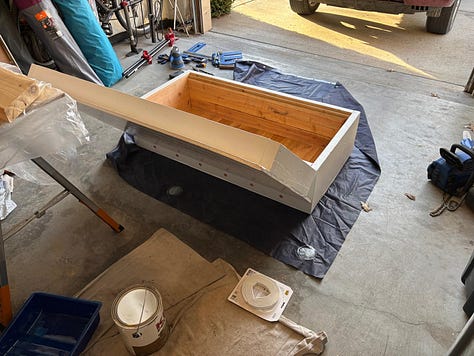
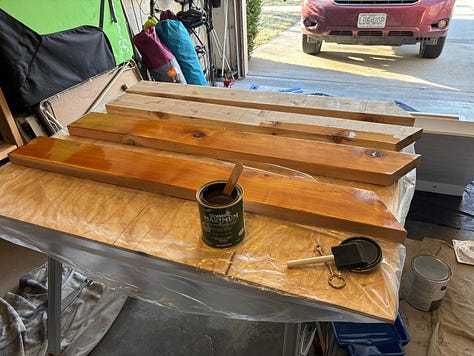
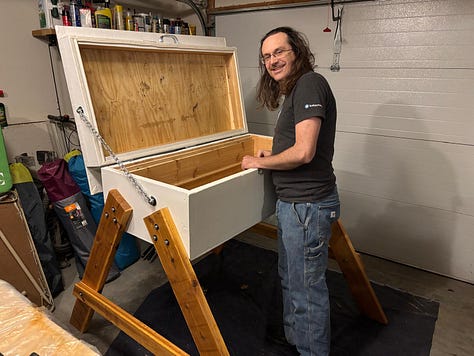
I painted the hive exterior only, and stained the cedar legs (we did not stain the legs for hive #1 and that was a mistake).
Old vs. New
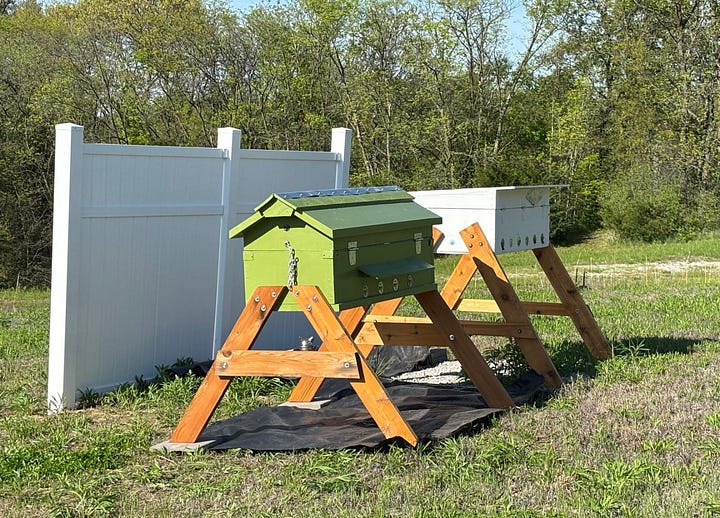
The yellow circle on hive #1 is a bee escape for when bees are trapped in the lid above the inner cover; the cream colored diamond on the new hive is also a bee escape. They are designed with one-directional tunnels so bees cannot enter, but can get out if trapped.
The Transfer
I stink at taking photos while wearing a bee suit, but the transfer of bees went well. I moved one frame at a time from the old hive to the new. Things are looking pretty good with the colony. I spotted the queen and got her safely moved to her new home. Distressed buzzing turned into a calm hum once the colony knew she was safe.
There were plenty of resources, with bees already flying in with full loads of pollen (March 17th). I was able to see brood of all ages - both worker and drone. As you can see in the video above, many bees were confused and lost. They hadn’t quite figured out where the queen went, but by sundown almost all had found their way.
This post got lost in the shuffle of my computer files, so I already have an update!
As of May 21: The bees are thriving and loving their new hive. In fact, my bee buddies & I have made splits, and now have 3 colonies. Ben & I revamped the old hive by power washing, removed the undesirable aspects, added a tin strip to the roof, repainted & stained the legs. Much better! There are currently two colonies in the white hive with divider board separating them & a small split in the revamped green hive.
